Pinhole Camera
A pinhole camera is a simple camera without a lens and with a single small apertureLight from a scene passes through this single point and projects an inverted image on the opposite side of the box. Up to a certain point, the smaller the hole, the sharper the image, but the dimmer the projected image. A pinhole camera’s shutter is usually manually operated because of the lengthy exposure times, and consists of a flap of some light-proof material to cover the pinhole. depending on the light being reflected into the pinhole exposures can last from 2 seconds to 30 seconds .The principal was first discovered in Persia in th 10th century, but the first recorded photograph was take by Scottish scientist Sir David Bewster. It
The pin hole camera technique evolved. Daguerreotype photography process was discovered almost simultaneously by two inventors, Louis Jacques Mande Daguerre in France and William Fox Talbot in England. Daguerre's method became more widely used. Talbot eventually created the calotype. Calotypes do not feature the sharp definition of daguerreotypes. Also, the prints tended to fade, unlike the daguerreotype.
The daguerreotype method was invented in the 1830s by Daguerre, a French painter and physicist. He discovered that exposing an image onto a copper plate coated with iodized silver would produce a lasting image if it was also exposed to mercury vapor and fixed with a common salt solution. Later, other vapors were used. Daguerreotypes are captured on polished silver, making it reflective, like a mirror. Daguerre collaborated with Joseph Nicephore Niepce, but Niepce died by the time the first daguerreotype was produced in 1837. The method was unveiled in 1839 and became popular, especially in the United States.
- Talbot moved on to another photographic process in which photographic paper was brushed with a salt solution, dried, then brushed with a silver nitrate solution and dried again, creating a silver chloride. Talbot then added gallic acid, making the paper more sensitive to light.
After exposure, the image was fixed with another iodized solution. To make a print, the negative was placed on top of more photo paper, laid flat in a glass frame and allowed to develop in sunlight. Talbot patented this process in 1841. - HOW TO MAKE A PIN HOLE CAMERA :
To create a pinhole camera all you need is black card, sellotape, and tin foil
1. Cut a strip of card 45cm in height and 10cm in width.
2. Fold the strip four time at 10 cm intervals to create a 10cm by 10cm square with a 5cm overlap.
3. Open it out into a cube ( two of the sides will be missing)
4. Use the extra 5cm on the end to stick the card together.
5. Cut out another square 10cm by 10cm put it one side for now
6. Using black card, cut two thin strips about 5mm wide and 7 cm long.
7. Using sellotape, stick the thin strips at diagonally opposite corners of the 10cm square piece of card. Fold the long bits over onto the other side - to create pockets which will then hold the photographic paper in place - so only use the sellotape on the underside.
8. Make another 10cn x 10cm square of black card, but this time extend the square on all four sides to create 1.5 cm flaps which will help you assemble it.
9. Now stick the first 10 x 10 piece of card which will hold the photographic paper ( step 7) onto the square from step 8. Make sure the strips that hold the photographic paper are facing upwards.
10. Not stick the square onto one open side of the cube - with the strips facing inwards.
11. Cut one more 10 x 10cm square of black card, but this time not only cut flaps, but extend the flaps by an extra 5 cm rectangle which will enable you to tuck them into the final cube. Cut a 1cm square out of the middle of this square. Stick a bigger piece of tin foil over the gap and stick it down with tape so no light can get in. then make a tiny hole with a pin in the middle.
12. Stick a strip of card all the way around the cube at 3m below the remaining open side.
13. Now fix the final square of card onto just one side of the cube, leaving the other three open so you can open and close the box to change the photographic paper. When you close it, you will tuck the tabs under the strip that goes around the box - making sure that no light whatsoever can get into the box.
14. Finally insert the photographic paper in the dark room and find a way of covering the little pin hole until you are ready to take a picture. I used a little flap of paper larger than the square of tin foil.
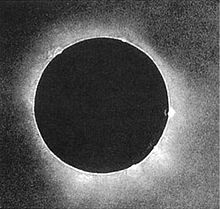
Daguerre's first photo of an eclipse
|

my first attempt at pinhole photography
|
Photograms
|
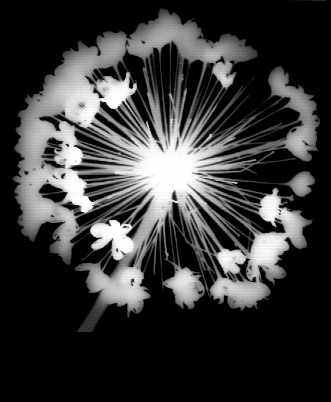
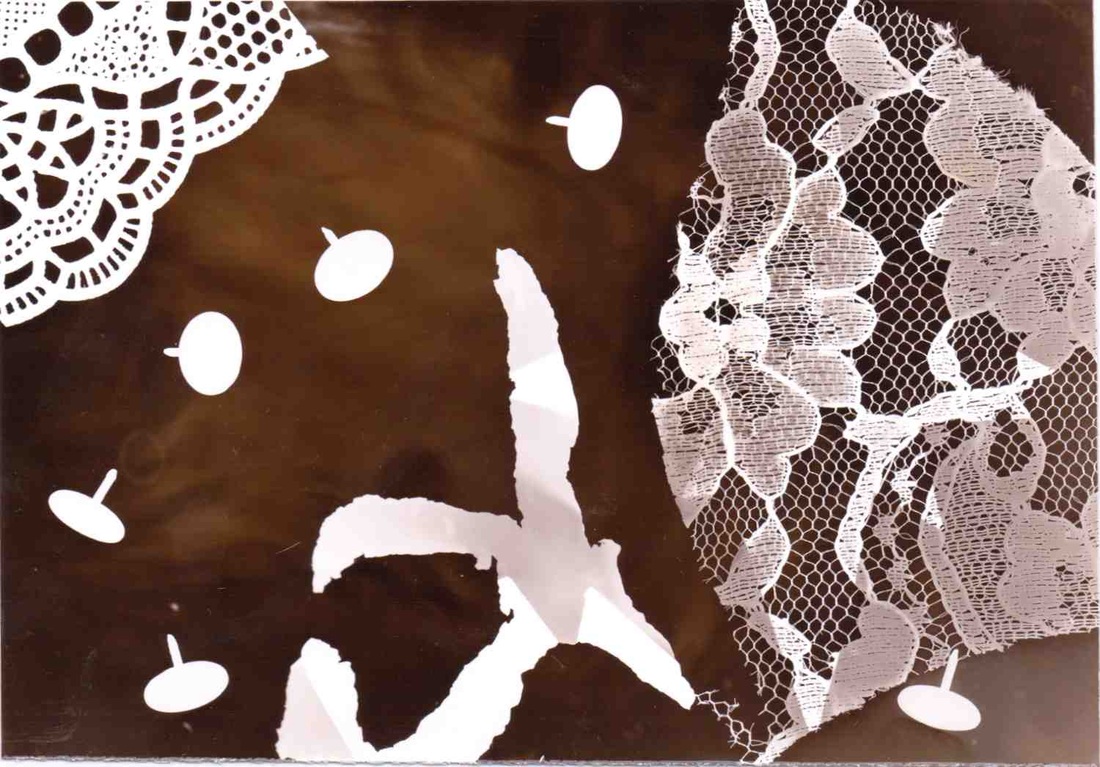
A photo gram is a photographic image made without a camera by placing objects directly onto the surface of photographic paper and then exposing it to light, objects of different opacity will show up differently on the paper
On the right there is a photo gram from a photographer called Dave Eva. Eva uses different types of flowers and plants that he finds around London and south wales to create his photo grams. Eva then uses these photo grams to create greeting cards and sells them on his website. http://www.daveeva.co.uk |
|
|
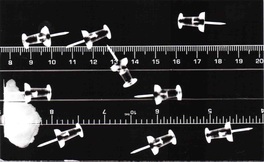
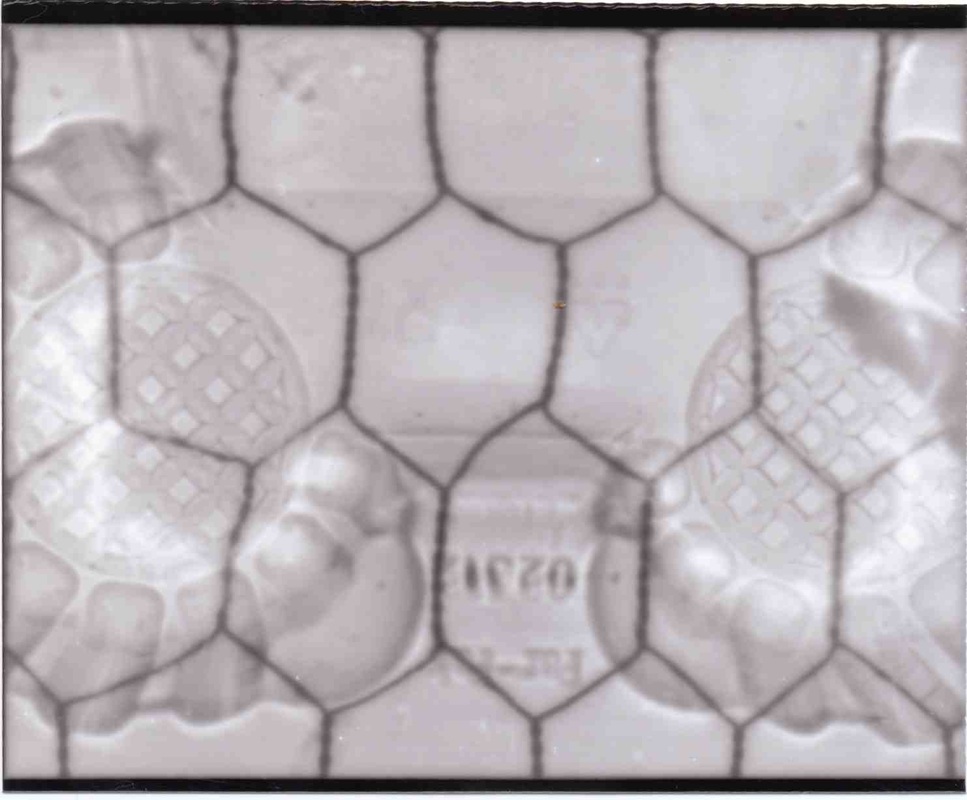
We started of by trying out basic photo grams with household objects and things we could find around the classroom. The picture on the right is my first attempt using a ruler and some pins when you expose light on to a photographic paper it develops a negative version of the image as you can see in the picture.
|
|
|
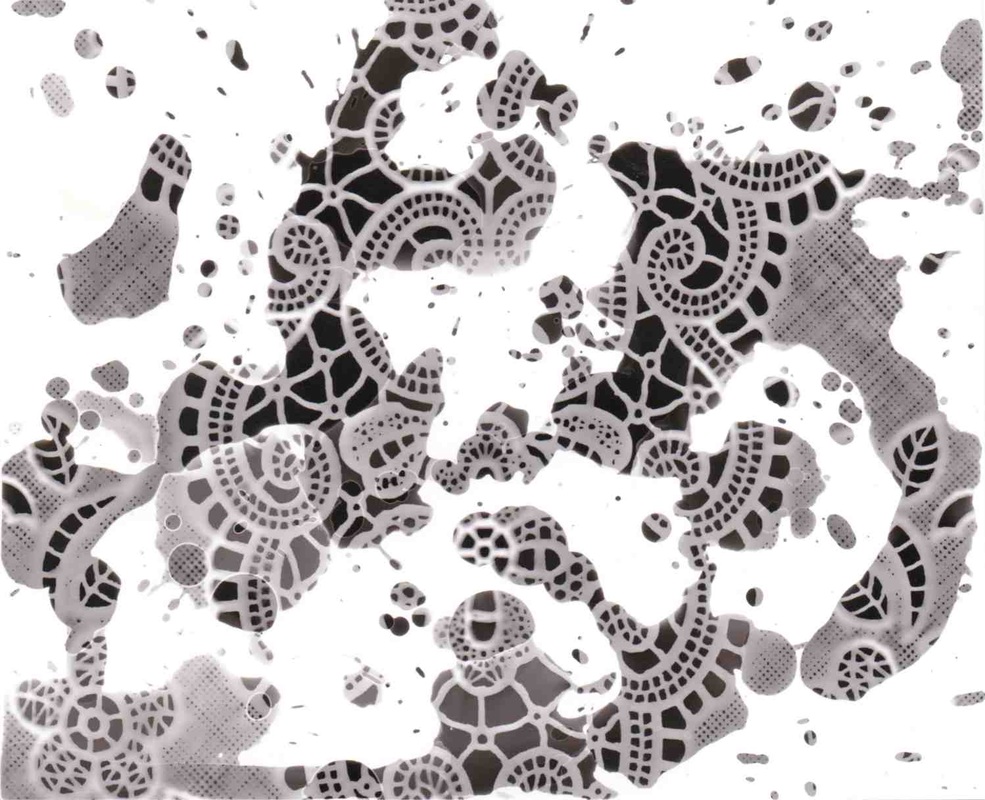
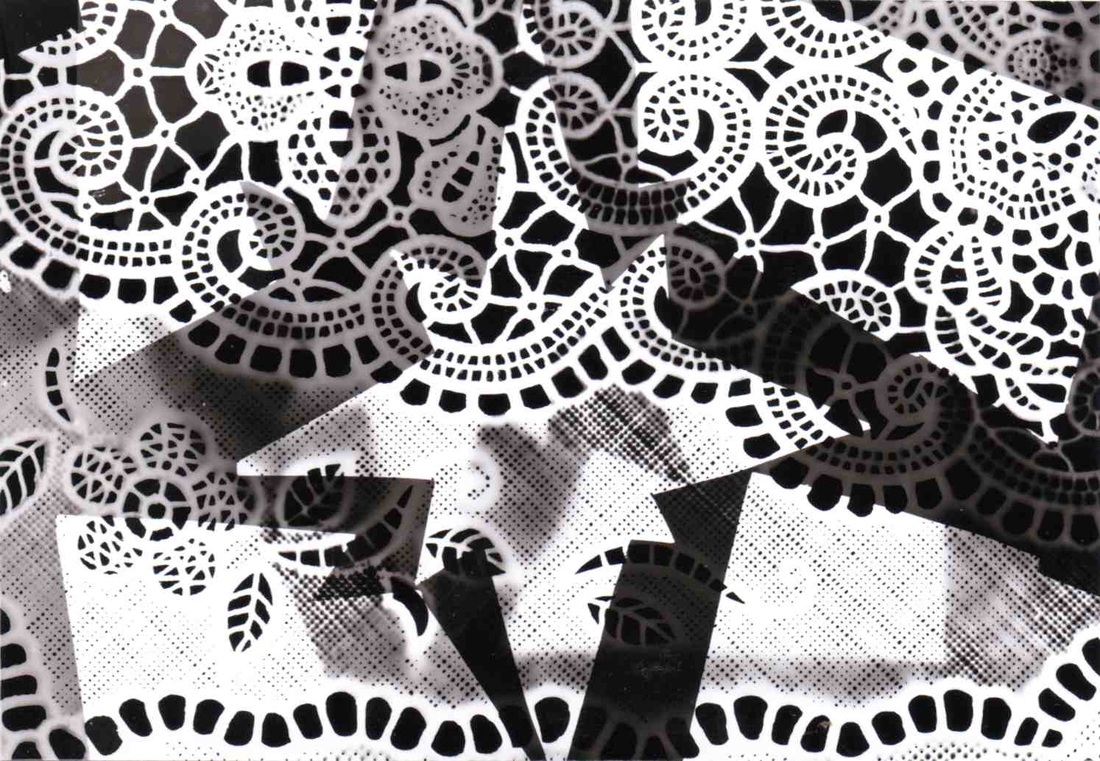
Next we had to turn our photo grams into positives we did this by putting a unexposed piece of photographic paper the same size as the one we had just exposed, underneath the already exposed image. then we expose the unexposed paper with the exposed paper on top this meant the light was being let through the areas that weren't exposed yet making the image positive.
|
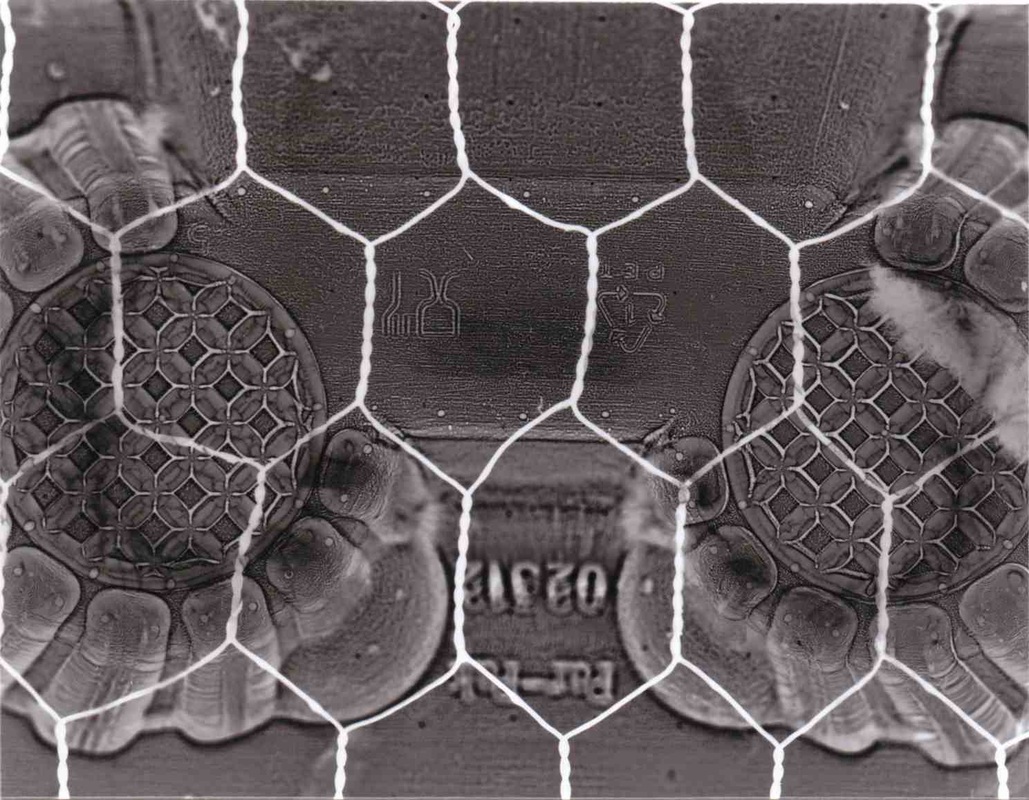
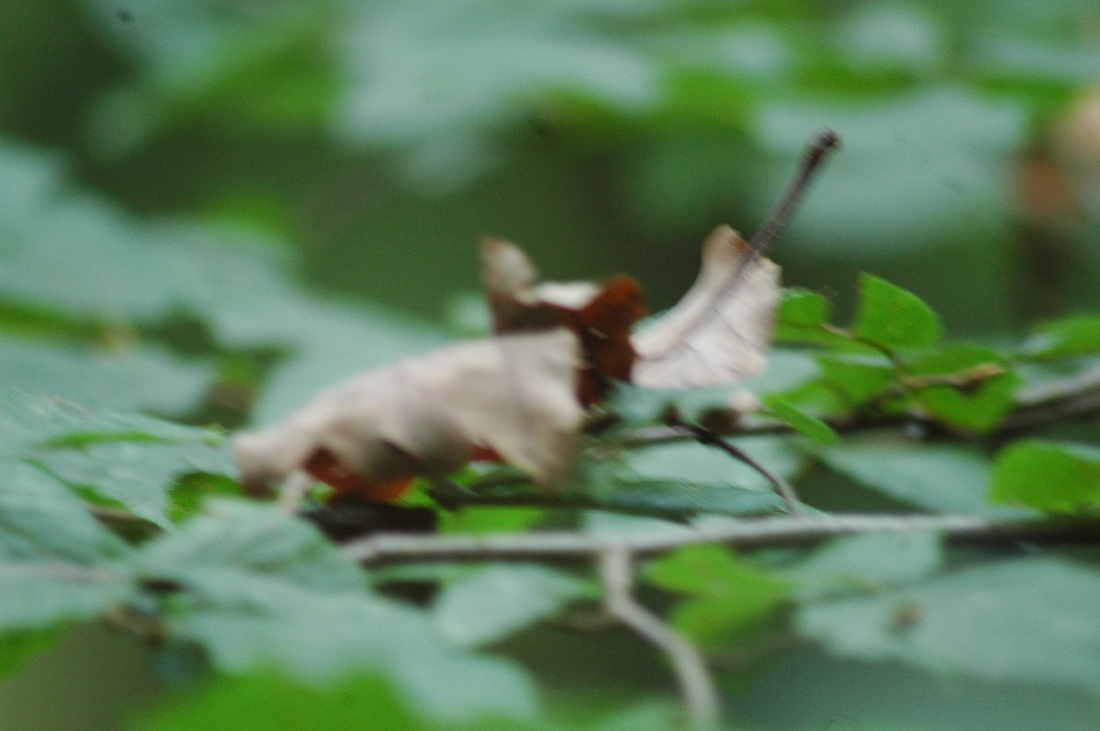
the image was slightly blurred when turned to positive. This photo gram was made using some metal fence and some plastic packaging.
|
the photo gram became slightly blurred when turned positive
|
|
Photo grams can be edited in a number of different ways. One method is dying the photo to colour it. Photo grams can be dyed blue or sepia.
|
When dying sepia you have to dissolve the exposed parts of the picture by leaving it in bleach until the black has almost disappeared into a yellow mist, where by you take it out and put it in the sepia dye which gives it a brown/chocolate colour.k here to edit.
|

with the blue dye you simple put your photo gram into the dye for approximately five minuets and the black parts are dissolved and replaced by the blue dye
|
|
Another method of editing photo grams is by applying the developer with a paint brush and dripping it on, the developer will only develop the places you have painted it on, this gives the picture a water/drip effect
|
|
|
another is the dodge and burn effect this is one of my favorite effects. To create a dodge and burn photo gram you have to expose your photographic paper like normal with your usual pattern or shapes on top, then you have to create a shape or a series of shapes which you place on top of your already exposed paper and then expose it again, this means when you develop your photo gram the areas which the shape(s) where on top of will develop your normal pattern and the other areas will be over developed and often completely black
|
|
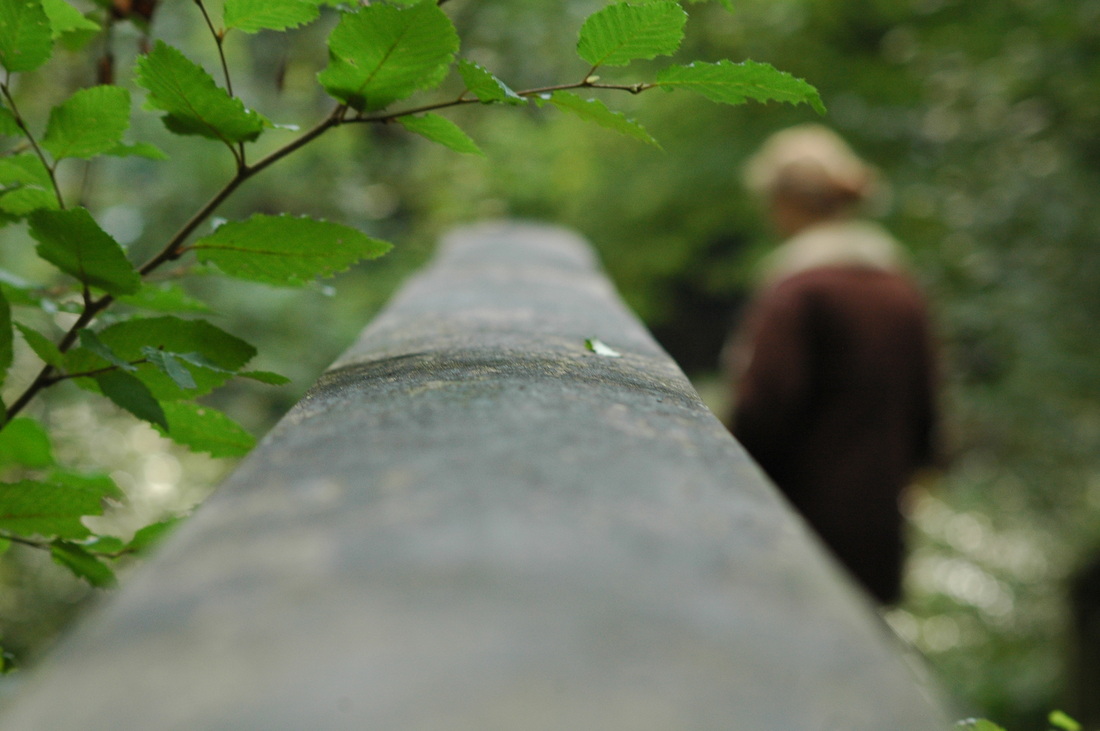
Depth of Field
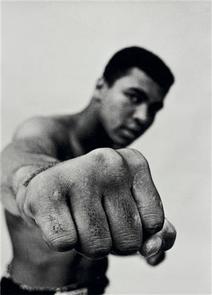
Thomas Hoepker is a member of magnum photos on the left is probably his most famous photograph ever taken of Mohamed Ali. In 1970, when he, after several years of a forced absence from the ring, restarted his career and prepared himself for the "Fight of the Century" against Joe Frazier and years later, already weakened by Parkinson's disease. Many of these pictures have gone around the world and have become photographic icons.
|
|
|
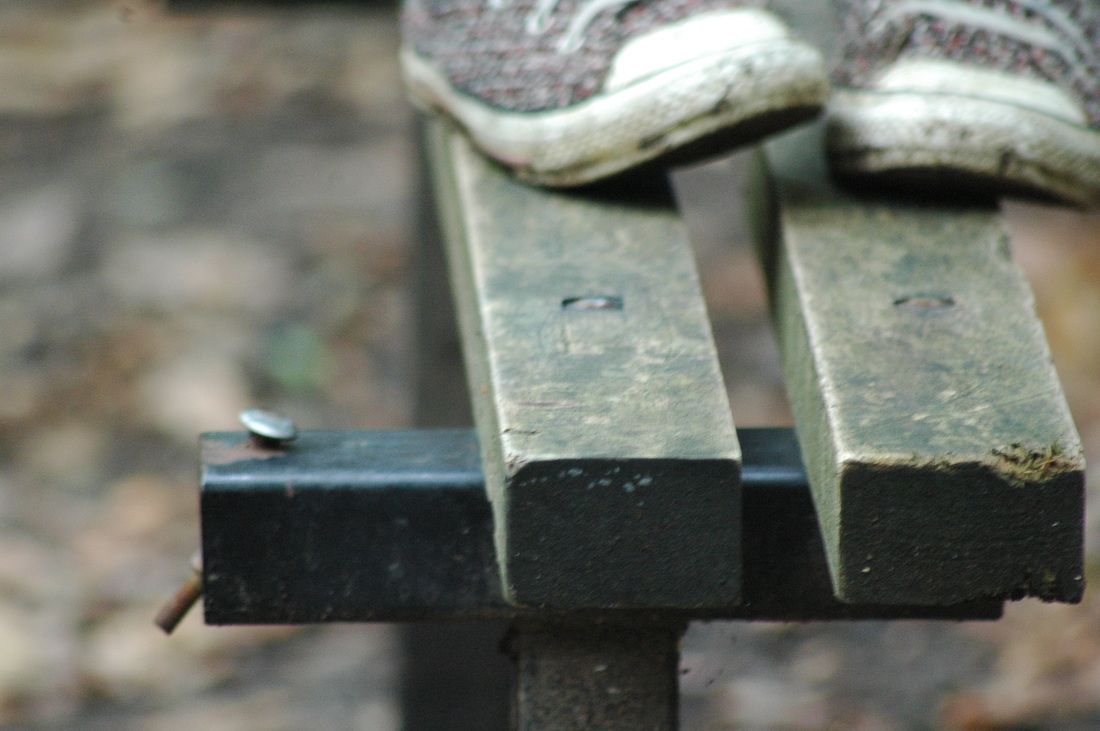
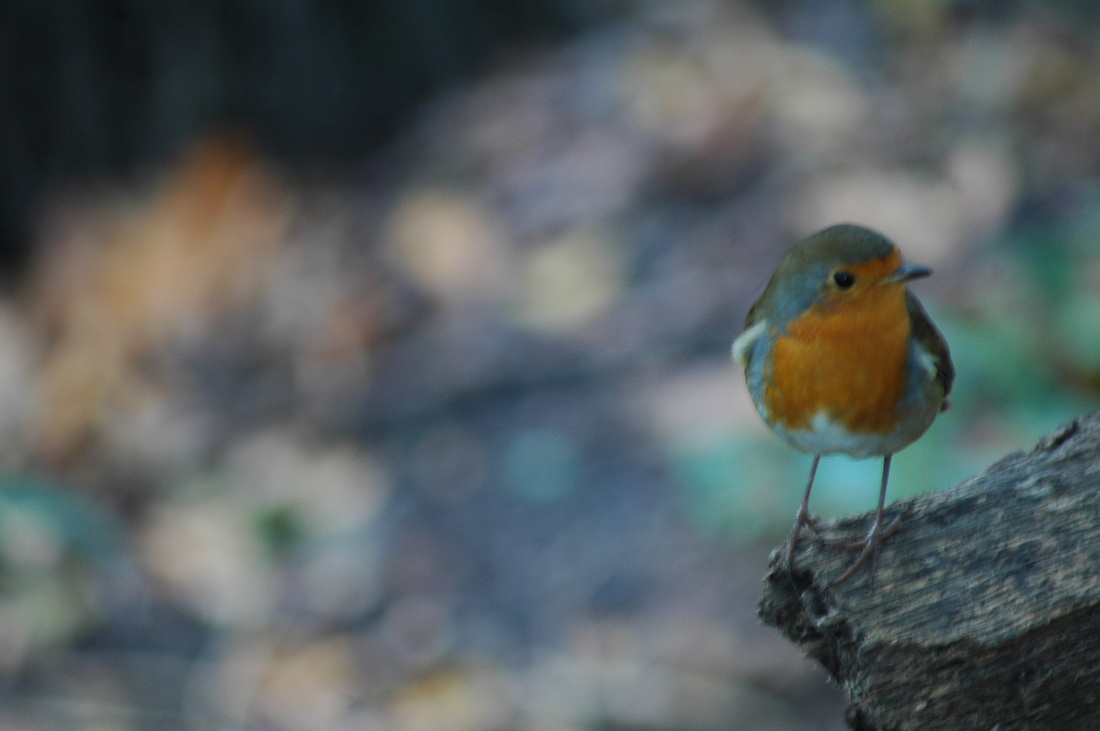
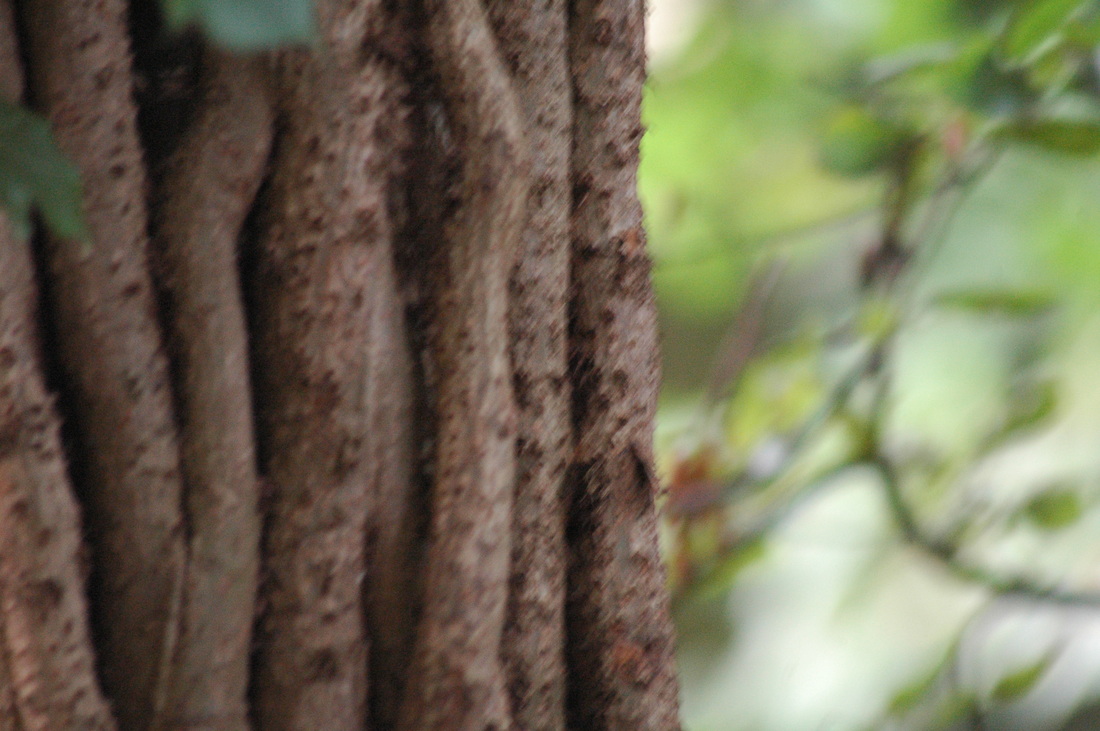
This are my attempts to play with depth of field. I used a Nikon D70 with a macro 70mm - 300mm lens.
|
|
|
|
|
|
|
